Getting Started
Features
Images
Images are everywhere and very useful to make your website very pleasant.
Let’s learn how to use them using gatsby-source-google-docs.
Usage in Google Docs
Fortunately, it’s very easy to add images in Google Docs.
Checkout the menu Insert → Image to see all the possibilities:
- Upload from computer
- Search the web
- From Google Drive
- From Google Photos
- By URL
- From your camera
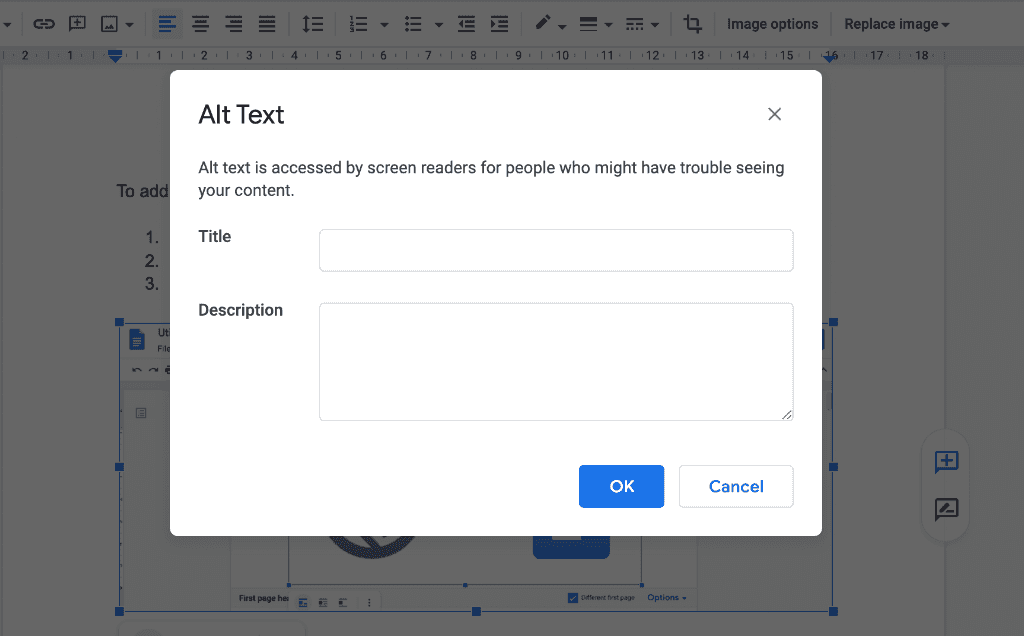
One you added it to your document, you may want to fill title and alt texts. To do so Right-click on image and fill Alt text data
Usage in Gatsby
Unfortunately, Google Docs images URLs are short time limited. That’s why gatsby-source-google-docs download every remote image during the build step.
To process downloaded images, you will need to install gatsby-plugin-sharp,gatsby-transformer-sharp, gatsby-remark-images and optionally gatsby-remark-gifs if you use GIF images in your documents.
yarn add gatsby-image gatsby-plugin-sharp gatsby-transformer-sharp gatsby-remark-images gatsby-remark-gifsAdd plugins to your gatsby-config.js file.
module.exports = {
  plugins: [
    "gatsby-plugin-sharp",
    "gatsby-transformer-sharp",
    "gatsby-source-google-docs",
    {
      resolve: "gatsby-transformer-remark",
      options: {
        plugins: [
          "gatsby-remark-images",
          "gatsby-remark-gifs",
        ],
      },
    },
  ]
}
If you want to use covers to highlight your pages, you need to check How to use cover.
Grids or Masonry
If you need grid or masonry, you should use MDX and React Components.
It can be achieve with the following code
import React from "react"
export const Masonry = ({children}) => {
 return (
   <div
     style={{
       display: "block",
       columnCount: 3,
       columnGap: 10,
     }}
   >
     {React.Children.map(children, (child) =>
       React.cloneElement(child, {
         style: {
           ...child.props.style,
           breakInside: "avoid",
           marginBottom: 10,
         },
       })
     )}
   </div>
 )
}